Introduction
Animation work for the subject Media for Video Games. In my case I used Cascadeur and Blender software.
Development
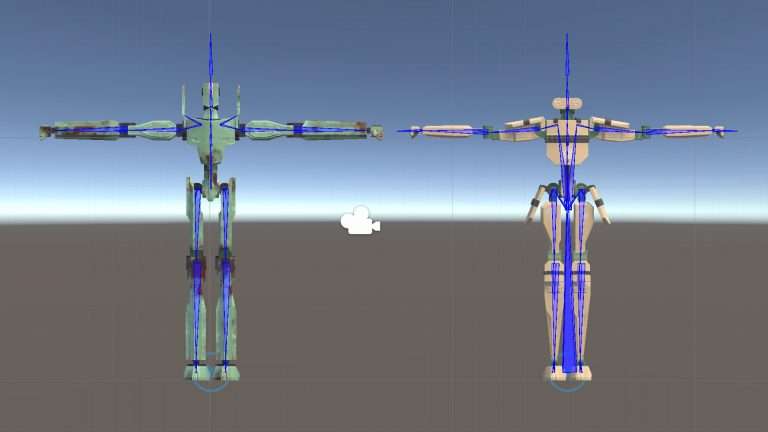
The first step when importing a model with a rig in Cascadeur is to assign the different skeletons to a humanoid scheme with the “Quick Rigging Tool”. If we had a standardized model, it would automatically detect it, but we are unlikely to meet those requirements with a hand-made model.

Cascadeur’s own YouTube guide has been very useful to know the import processes.
Here comes a funny moment, because I realize that in the previous activity I didn’t apply the scale of the objects in the model and when generating the rig everything goes out of order. So I had to iterate and change some values from the previous exercise so that everything would work correctly here.

It’s time to cheer up. It takes a little getting used to the controls coming from Blender but the results are worth it. First we select the points we are going to handle in our skeleton and place them in the position we want to start. Automatically, they will be marked in blue (can be deactivated with Shift + Z).
Next, we move in the timeline to the next keypose we want to do and so progressively (keyframes can be moved using the central mouse button and duplicated while holding Shift).
Finally, by selecting all of them we can create an interpolation assisted by AI that will give us the final result of the animation by pressing the corresponding button and selecting the type of animation curve (in my case bezier clamped).
IMPORTANT: during the export process I found that the latest versions of Cascadeur do not allow exporting in .FBX with the free plan. Therefore, if we want to work for free, we will have to download a previous version (in my case v2023.2.1 )

The first animation I decided to do was walking. I especially recommend following the Cascadeur tutorial dedicated to this topic to start getting used to the tools of this program. In addition, it gives some tips to generate a more natural loop.
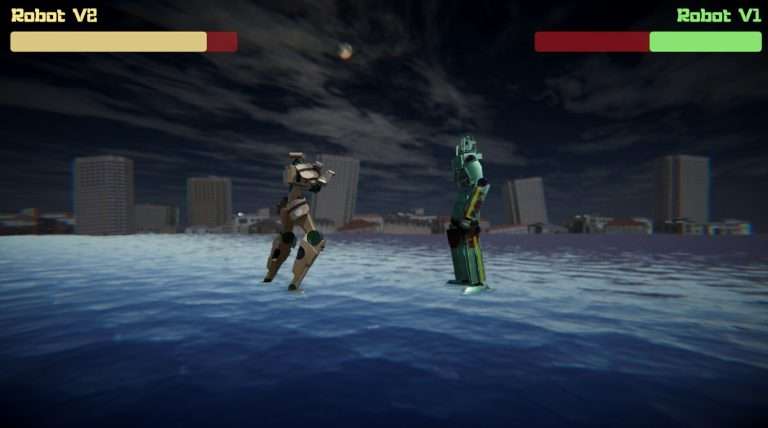
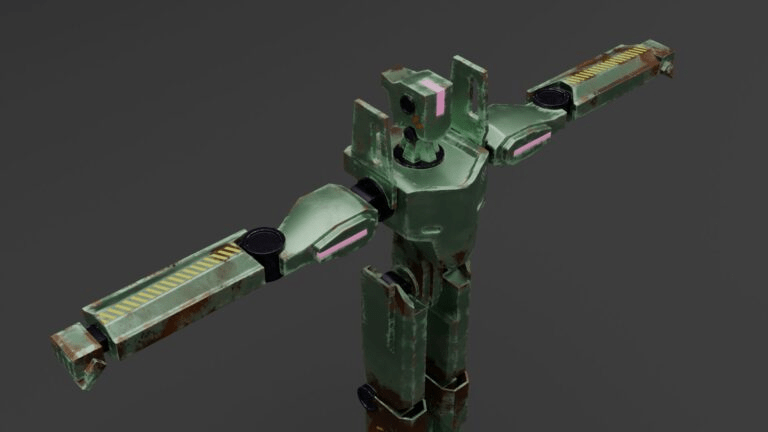
In my case, I’m looking for animations that represent the weight and size of my robots, since the idea is that in real life they would be models about 20 meters tall. That’s why I was inspired by the fantastic animation work done by ILM in the movie Pacific Rim.

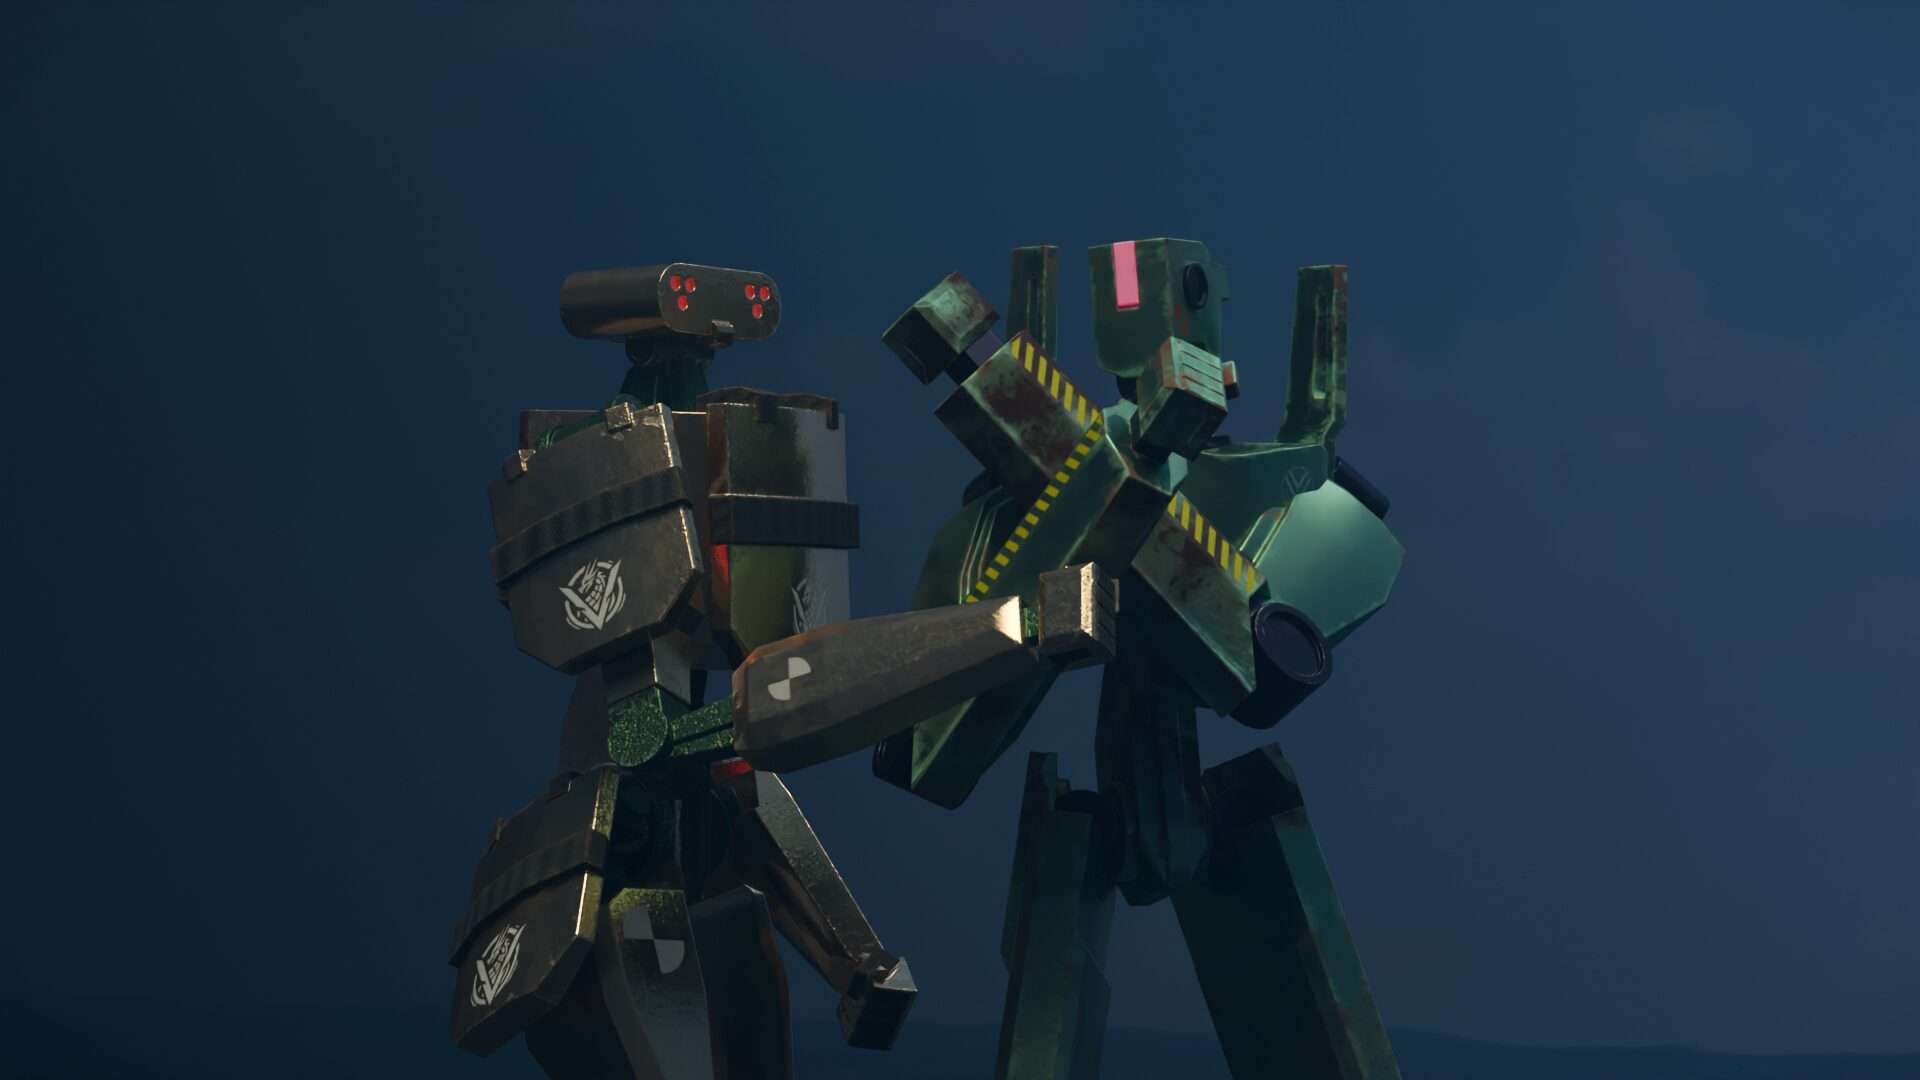
The rest of the animations have been pure spontaneous creativity and playing with the program’s tools. A highly recommended shortcut to make keyframes is F, and Alt+F for intervals. The split screen is useful to have the clean model on one side and the rig controls on the other (in this version it is activated with the space bar and with the “X” you play the animation).
Regarding the two different versions of robots, I have given priority to them having the same number of frames so that when fighting there are no delays between the fights.

To finish, I have gathered all the animations exported as .fbx from Cascadeur in a single Blender document. So that they are all shown in the same model, I have converted all the animations into actions in the “Nonlinear Animation” screen. This way they can also be visualized and selected in SketchFAB .
Final results
V1 Robot animations by Kanki on Sketchfab
V2 Robot animations by Kanki on Sketchfab
Conclusions
The truth is that I am very proud of the result; bringing 3D models to life following the whole process is a great experience. I consider that there are many tools that make life easier for us (such as Mixamo or Acurrig), but doing things yourself gives much more precision in the details.
Cascadeur is a super powerful tool to have control over the animation but automate many aspects that give it more realism. The reality is that the animations have not been polished enough for my taste, especially because I have not been able to apply physics simulation to them due to a scale problem with Cascadeur that I have not been able to solve in the very narrow time frame that we had for so many animations.
Animation is an art in itself and I haven’t even scratched the surface, but I enjoyed the process a lot and learned everything for future projects.